

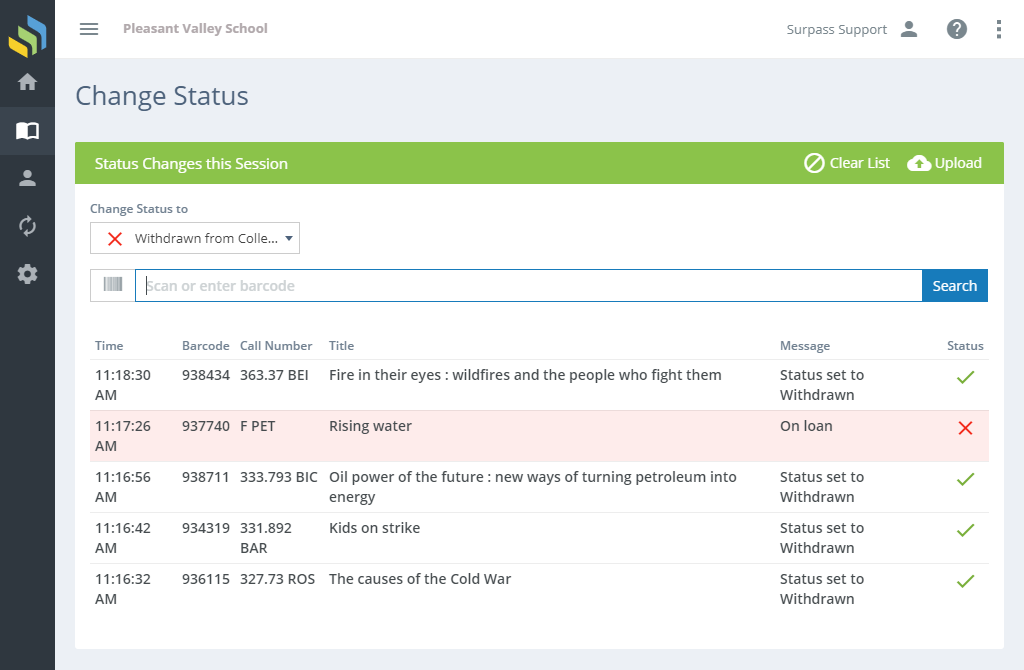
The Change Status feature allows you to quickly change the status of many resources by scanning the barcodes. One of the situations where you might find this useful is when you have weeded outdated or worn resources and want to withdraw them from your collection. After you have removed the resources from the shelves or other locations, you can scan the barcodes to change them to Withdrawn from Collection status.
Changing Status
Start by selecting the status to which you want to change the scanned resources. Note that you cannot change the status to or from On Loan, Lost, Holding, or In-Transit for Intralibrary Loan. Next, simply start scanning! As you scan (or type) barcodes, the resources you are updating will be added to an on-screen list, with the most-recent on top.
If the status was changed successfully, you'll see "OK" and a checkmark in the list.
Exceptions
If there was a problem, you'll see a message at the top of the page to explain and also a short message in the list. Problems would include situations such as:
- Barcode is not found.
- The item's status is already set to your selected status.
- The item is on loan, lost, holding, or in-transit.
Sounds
Since you might not be paying especially close attention to the screen while you're busy scanning hundreds of items, Surpass Cloud uses sound alerts to let you know when an item was successfully updated and when there is an exception that needs your attention. These are the same sounds used on the Circulation Transactions page and can be customized on the Settings : Circulation : General page.
Sublocation Change Session
The on-screen list shows the resources you have updated during this session. The list is cleared when you log out or when you click the Clear List button. Clearing the list does not in any way affect the statuses that have been updated.

Uploading from a Portable Data Collector
If you use a portable data collection device such as one you might use for inventory (see Physical Inventory Process), you can upload the file created by that device here.

Click the Upload button, then drag and drop the file to the upload box or click the box to select the file from your device's file browser.
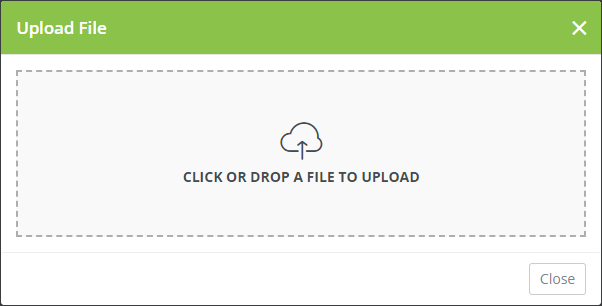
After the file has been uploaded and processed, the items with status changes will be shown on the list. Be sure to scan the list for any exceptions.
If you get a message that the file cannot be processed, take a look at it. You should be able to open it in Windows Notepad or TextEdit on a Mac. The file to be uploaded must be a plain text file that contains only barcode numbers, with one barcode number per line.