


Email or print notices to patrons (typically new patrons) to welcome them to the library and provide information such as their patron number and temporary password. Welcome notices can be sent individually from a patron's profile or in bulk from the notices area, as detailed here.
Sample Printed Notice

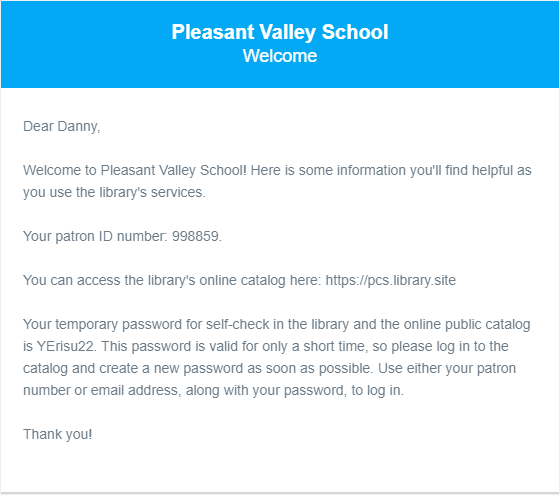
Sample Email Notice
Step 1 - Select or Create Notice Set
The first step is to select which notice set to use. In the many cases, you'll have only one, Standard, and can just go to the next step.
Notice sets are helpful when you want to create different types of notices for different segments of your patron population. See Notice Sets and Recent Paper Notices for more about Notice Sets.
Step 2 - Options
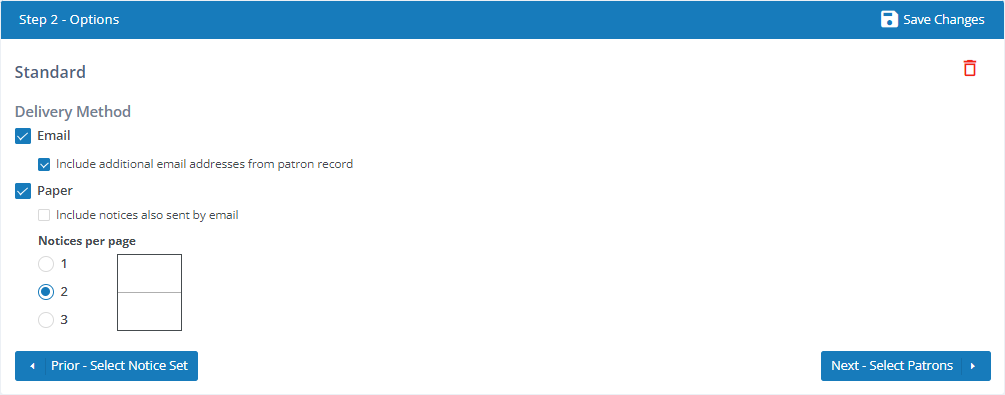
Delivery Method
-
Email - Send notices by email. When you select this option, notices are sent by email to patrons that have email addresses on file.
- Include additional email addresses from patron record - Unless this option is set, email notices will not be created for emails added to the Additional Email for Notices field in a patron profile. Select this option if you want to create email notices for those additional emails.
-
Paper - Select this option to print notices on paper. If you do not have email addresses for all of your patrons, you'll want to select this option so you get paper notices for those.
- Include notices also sent by email - Unless this option is set, paper notices will not be created for patrons who have email addresses. Select this option if you want to create both paper and email notices for those patrons.
- Notices per page - To conserve paper, you can select to print two or three notices on the same sheet of paper, which is then cut after printing. Guidelines are printed to show you where to cut. Select 1, 2, or 3 to indicate the number of notices you want to print on a sheet of paper.

It is not necessary to click the Save Changes button as you move from one step to another. Your changes are saved automatically when you go to the next step. The Save Changes button is useful when you don't need or want to go to the next step but just want to make some changes and leave.
Step 3 - Select Patrons
The next step is to select which patrons you want to receive notices, using either Basic or Advanced record selection options. See Selecting Records for Patron Reports for detailed instructions.
The option to select patron records based on Added on or After date is especially helpful here. Use this option to send Welcome Notices to patrons added on or after a given date.
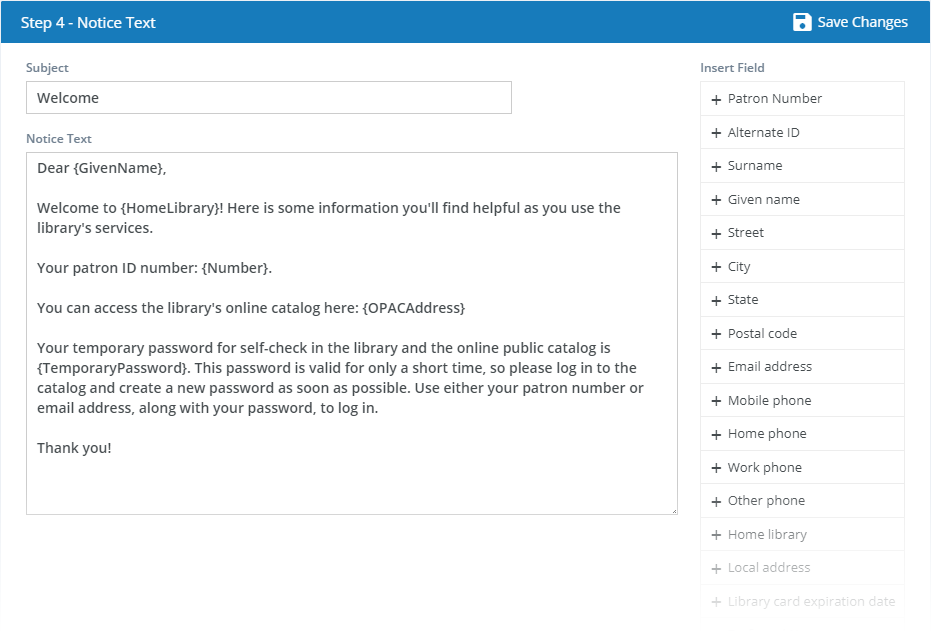
Step 4 - Notice Text
This is where you write the text of the notice that will be sent to all selected patrons.
-
Subject - The subject heading to be used for emailed notices.
-
Notice Text - The text of the notice. Enter the text of the message you want to deliver in the custom notice. You click patron fields from the list on the right side of the page to insert placeholers for patron data that will be filled in when the notice is created.
The header with patron name, number, etc. that is printed at the top of all printed notices can be edited in Settings : Patrons : Notices. You do not need to include that here. If you mail notices, you will likely want to include the mailing address on the printed notice header so it can appear in a window envelope.
Inserting Patron Fields
While editing the text, move your cursor to the place where you want to include a patron field then click the corresponding field from the list on the right side of the page. You can remove a field from the text by simply deleting it or typing over it as you would any text.
In addition to standard patron fields such as {GivenName}, Welcome Notices can include the following:
{OPACAddress}- The web address of your library's public catalog (OPAC).{TempoaryPassword}- A computer-generated temporary password the patron can use to log in to the OPAC, Self-Check, or the Surpass Cloud Administration app (for library staff and other users with permission to access it).
@(Warning)(Take Care)(Patron field placeholders are special words surrounded by braces. For example {Surname} means the patron's surname (last name) will appear in this place. If you make any changes to these placeholders, Surpass Cloud will no longer recognize them and will print them in the notice text verbatim.)
You can also edit notice text on the Settings : Patrons : Notices page.
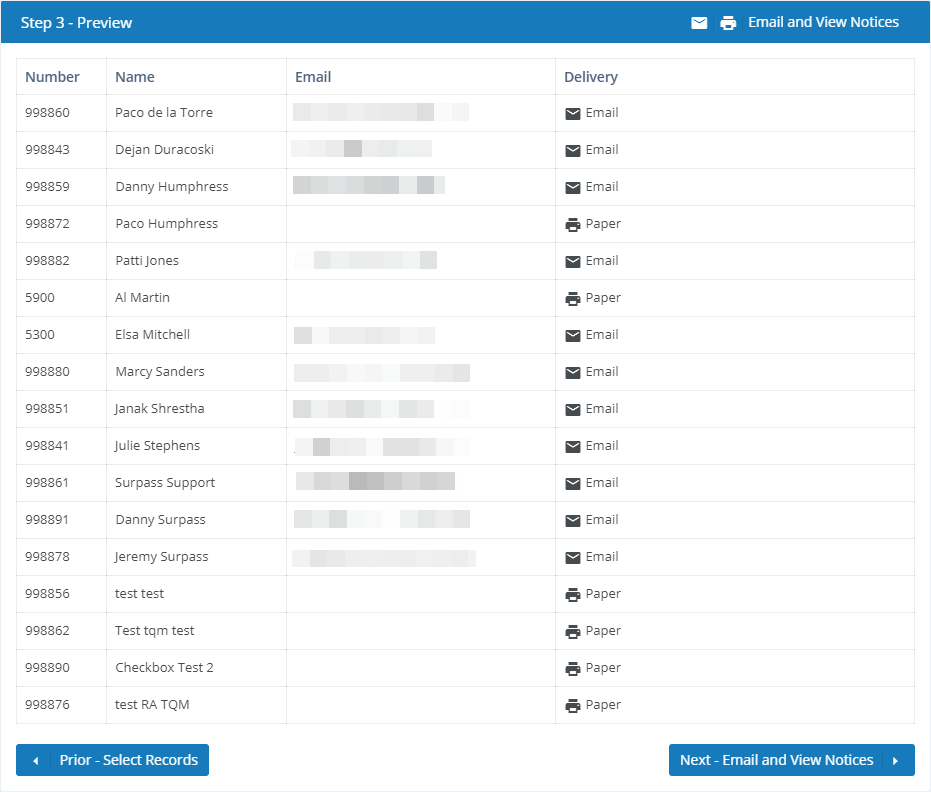
Step 5 - Preview
If you selected Email as one of the delivery methods, you'll have an opportunity to preview a list of the patrons who will receive either email and/or printed paper notices before the emails are sent. Click the Email Notices or Email and View Notices button to send the emails and (if option selected) view and print paper notices.
Step 6 - Send Email and View/Print
The final step is sending email and/or viewing and printing notices. The functioning of this step depends on which delivery method(s) you selected in Step 1.
If your notices include paper notices, they will appear in a preview window. The report can be viewed on-screen, printed, or downloaded as a PDF. See Viewing and Printing Reports.
If you had any notices to email, you'll receive information about the number of notices queued for delivery.
All notices sent by email or paper are recorded in the Notice History panel on the Patrons : View page.
If your library is part of a system that has multiple locations or branches, the notices will be sent to patrons in the selected location only, regardless of whether you have the All Locations option selected.
