This feature is not available in Cloud Small or Cloud for Congregations.
The Class feature shows you a list of the patrons in a given local address (usually a homeroom in school libraries) and/or in a given type (grade). This can be especially helpful when patrons visit your library as an entire class. It also shows a list of all resources currently on loan to the patrons in the selected class.
From here, you can click a patron for check out or to view the patron's circulation status details. You can also click a resource to check it in, renew, hold, etc. If you go off this page to check out to a patron or perform another function, the selected class will still be shown when you return, making it easy to jump back and forth.
Click the Class button to get started.

If you don't see the Class button, open the Circulation Sidebar, go to the Settings tab, and toggle Enable Class feature to on. Likewise, if you don't use the Class feature in your library, you can turn it off.

Select a class by selecting a patron type and/or local address and/or patron group from the drop-down choices, then click the Search button. Note that you must make a selection in at least one of the two options. If you make a choice in both, only patrons of the selected type who are also in the selected local address will be shown.
Class View
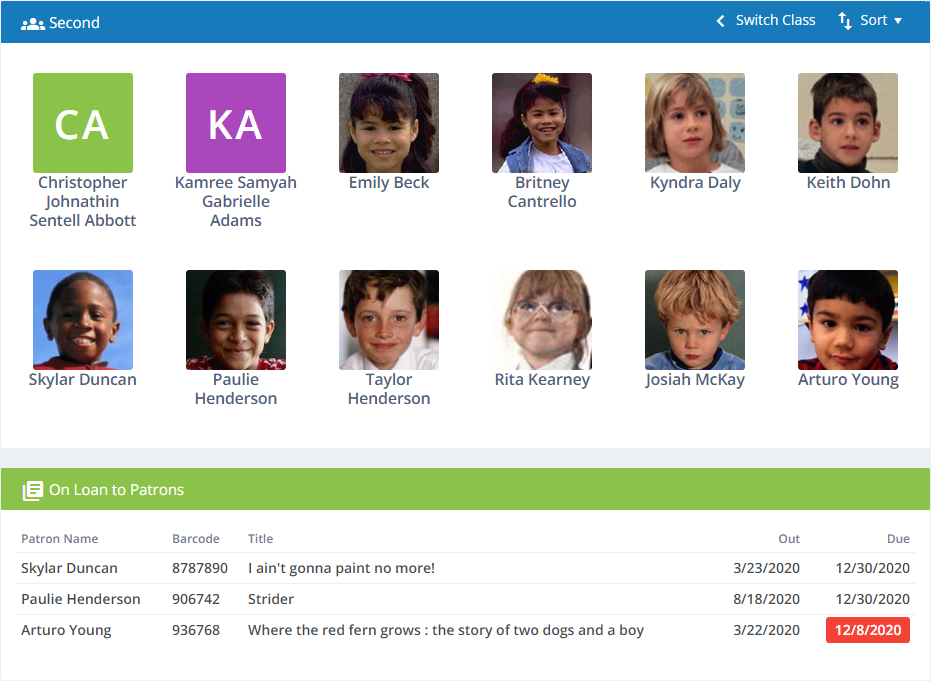
After selecting a class, you'll see a page with two panels:
-
Patrons - A list of the patrons in the class in alphabetical order by surname and given name. You can click a patron photo or name to check out to the patron or to see the patron's circulation status details (on loan, holds, and fines).
-
On Loan to Patrons - List of resources currently on loan to all patrons in the class. You can click a resource to check in, renew, or to declare the item lost.
Switching Classes or Changing Sort Order
There are two buttons at the top of the patrons list panel:
- Switch Class - Select a different class by patron type and/or local address.
- Sort - Change the sort order of the patrons to given name (first name) or surname (last).
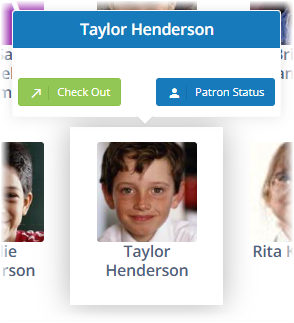
Check Out or View Patron Status
Click a patron photo or name to see choices to either Check Out to the patron or to go to the Patron Status view for that patron.
The same class will be shown when you return to the Class feature view.
Check In or Renew
You can check in or renew a resource from the On Loan list by clicking the resource. This will show the Resource Status detail. Click Renew or Check In.
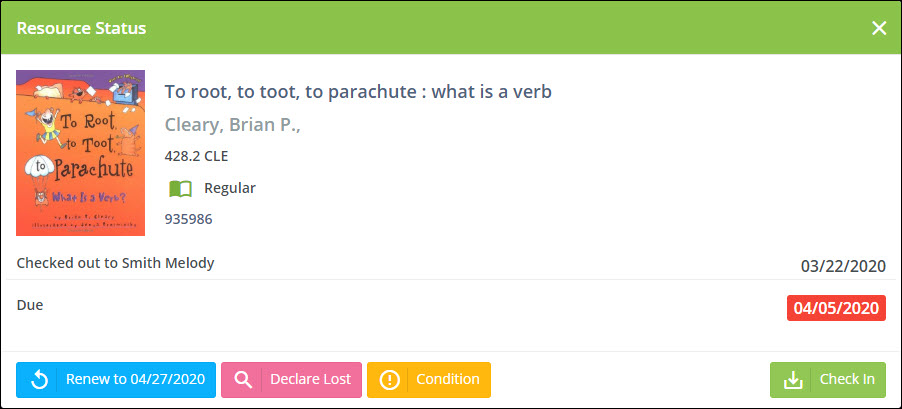
Declare Lost
If a patron reports to you (or you just assume) that the resource is lost and is not likely to be returned, click the resource from the On Loan list, then click Delcare Lost on the Resource Status detail.

From here, you enter the following:
-
Fine Amount - If the resource is overdue and a fine is owed, enter the amount to charge here. The default is the fine based on Circulation Rules.
-
Charge for Lost Item - The amount to charge the patron for the lost item. The default will be the cost of the item as shown on the resource's holding record on the Resources : View page.
-
Payment Collected - The amount (if any) that the patron has paid you for the fine and lost item.
When you click the Declare Lost button here, the status of the resource changes to Lost and the charges and payments are recorded in the patron's ledger.
If the resource is ever found, you can declare it found from the Resource Status function. At that time, you will be given the opportunity to credit some or all of the lost item charge to the patron (but not the late fine).
Resource Condition and Damage
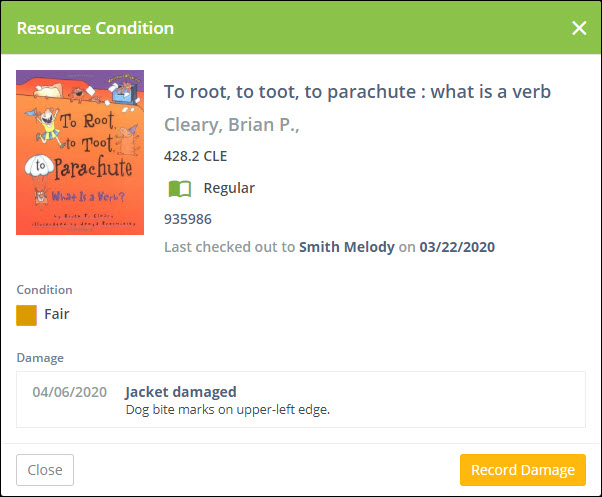
If you notice damage on an item, you can check to see whether that damage was previously noted and, if not, make a note of it. If you determine that the damage was caused by the last patron who borrowed it, you can also indicate that patron was responsible and, optionally, charge the patron for the damage. Click the Condition button to view the item's condition and damage history.
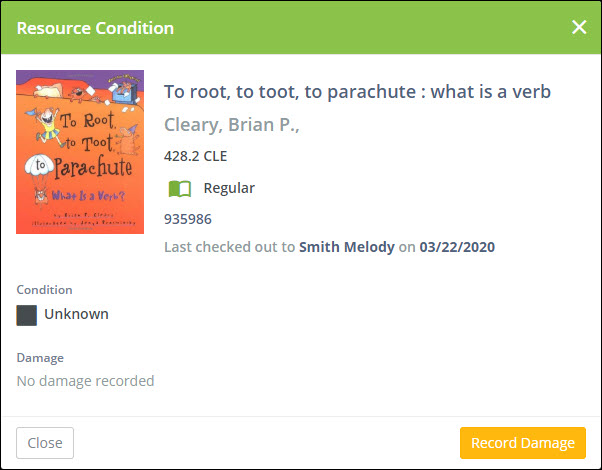
The information shown includes the patron (if any) to whom it was last checked out, the date it was last checked out, the currently recorded condition, and a list of any damages that have been recorded.
Record Damage
Click the Record Damage on the Resource Condition dialog to record any damage that you have discovered.
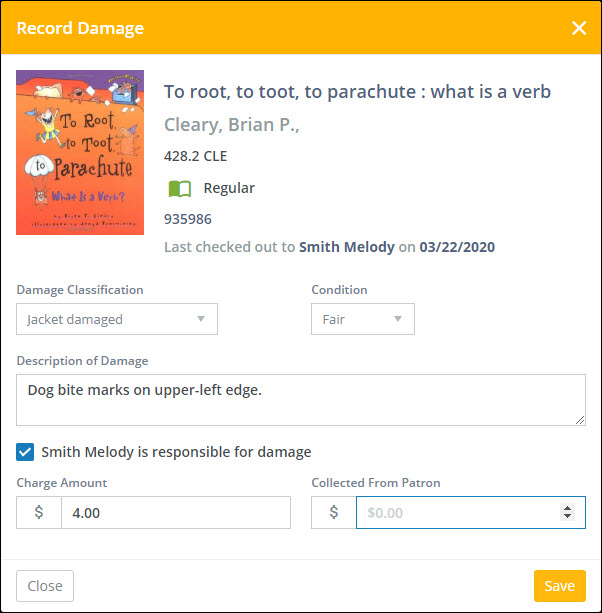
Damage Classification - Select the type of damage. You can add to or edit the list of available damage classifications in Settings : Resources : Damage Classifications.
Condition - Select the condition. You can add to or edit the list of available conditions in Settings : Resources : Condition Classifications.
Description of Damage - Enter optional text to describe the damage.
Patron is responsible for damage - Check this box if you want to record that the patron who last had this resource on loan as responsible for the damage. This option does not appear if the resource has never been checked out. If you check this box, you will be able to enter the amount to charge and the amount you have collected from the patron in the next two inputs.
Charge Amount - The amount to charge the patron (if any). The initial value you see here is based on the default charge defined for the selected Damage Classication.
Collected from Patron - The amount you have collected from the patron (if any).
Click the Save button to record the damage. The resource holding's condition will chage, the damage will be recorded, and the patron's ledger will be updated with any charge and payment. This information will appear on the patron's receipt.
The next time you view the Resource Condition for this item, you will see the updated condition and details of the damage.