

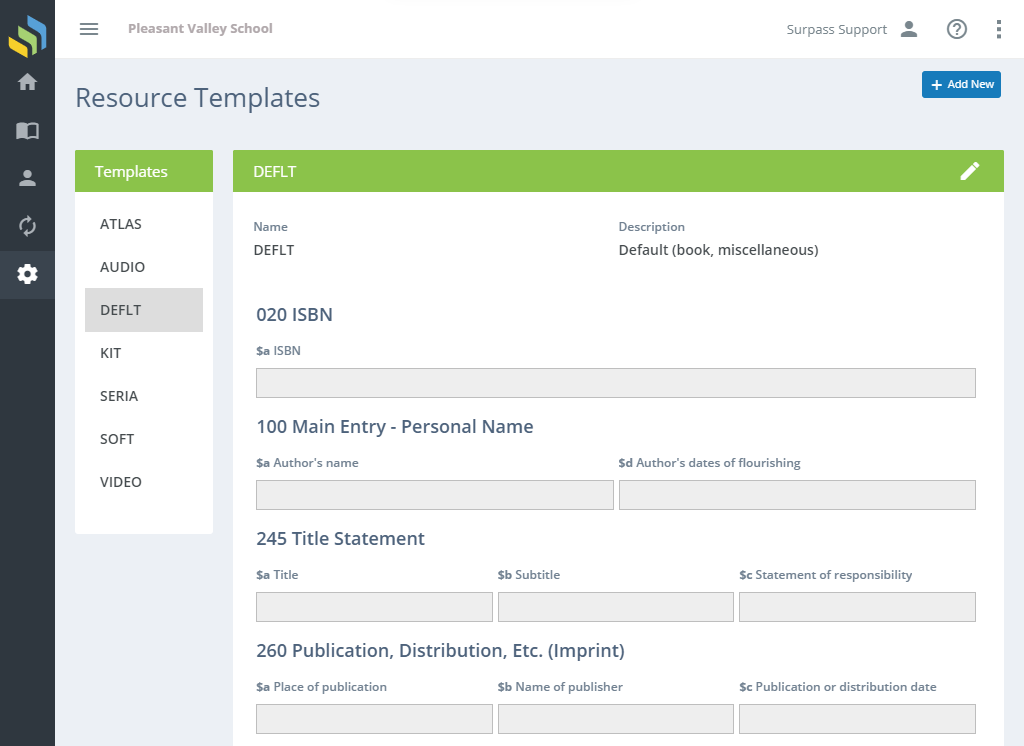
The Templates feature allows you to customize and add templates to use for original cataloging on the Resources : View page's Form view.
Templates make original cataloging easy by including only the MARC fields and subfields that you intend to use for a particular type of item. For example, you would need to include different bibliographic information depending on whether you are cataloging a video recording as opposed to cataloging an ebook. Templates allow you to easily pre-configure the way you will catalog different types of materials.
A template is assigned to each category (see Settings : Resources : Categories). On Resources : View, you can add a new resource by selecting Add New > Using Form. From there, you make a selection of the category of resource you want to add. The template associated with that category determines the form you see.
Templates allow you to control the layout and placement of MARC fields and subfields seen in the Form View on the Resources : View page. The template layout used Form View is determined by the category of the item you are viewing. In other words, the fields and subfields shown in Form View will change depending on what category the item is.
Adding and Editing
See Adding and Editing Records for more information on adding and editing records in Surpass Cloud.
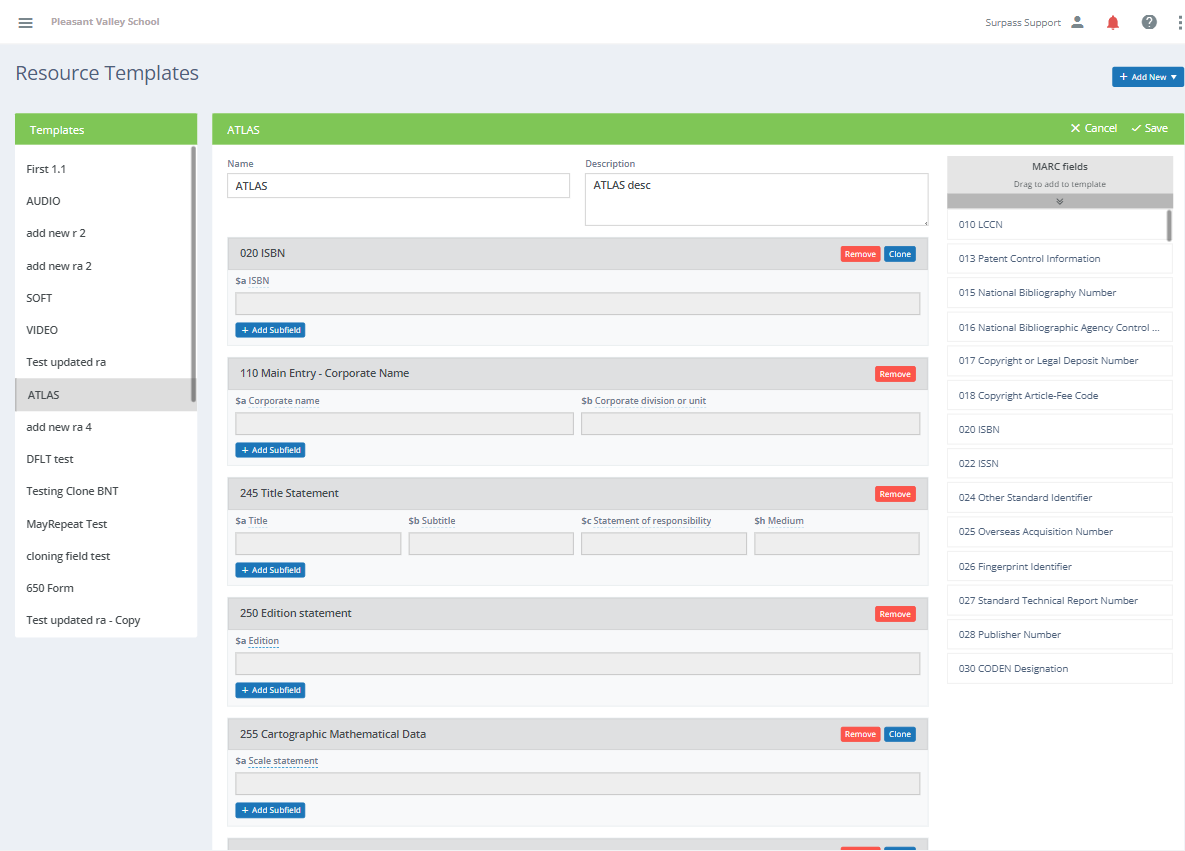
When in Add or Edit mode, the MARC fields on the template are shown with headers that allow you to make changes to them. There is also a list of MARC fields on the right. You can drag fields from this list onto the template to add them.
Adding a New Template
Click the + Add New button to create your own template. You can create one from scratch by selecting the "Empty Template" option or use the existing template as a starting point by selecting the "Duplicate" option.
Name and Description
- Name - The name of your template. Keep it short and simple!
- Description - A longer description of the purpose of the template.
Adding Fields to a Template
To add a field to your template, drag and drop it from the MARC Fields list on the right to the position where you want it to appear in the template.
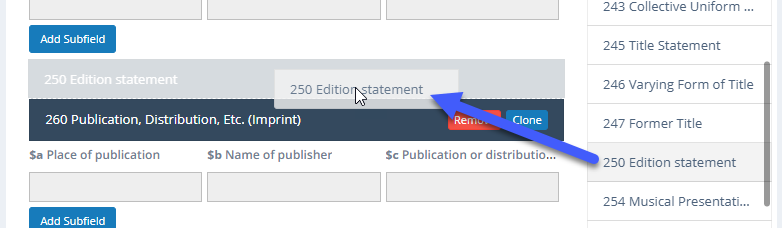
The field will appear where you drop it and will include the first subfield, Subfield $a.
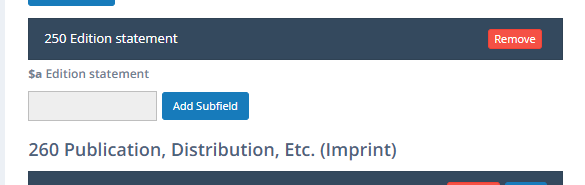
From here, you may edit the field to add or remove subfields and change other settings.
Cloning Fields
Another way to add a field is to clone an existing one. This is useful when you have a field that you want repeated several times on a form, such as is often the case with 650 Topical Subject and other subject fields.
Click the Clone button to add an exact duplicate of the field below the existing one.
Removing Fields
If you do not want a field to appear on the template, click the Remove button on that field.
Adding Subfields
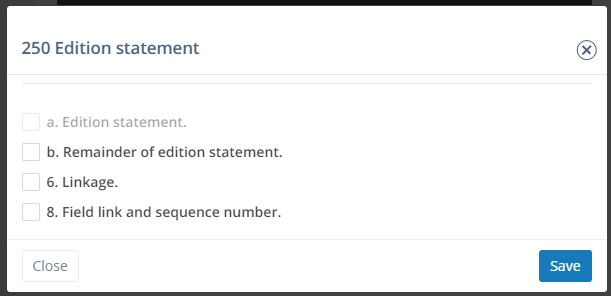
To add subfields to a field, click the Add Subfield button. You can then select from a list of subfields to add. Check the boxes of the field(s) you want to add, then click Save.
Editing Subfields
You can make changes to several aspects of how the subfield appears in the template. Click the subfield's caption to bring up a pop-up editor to make these changes.
(NEED SCREENSHOT)
- Caption - The caption shown above the subfield. By default, this is the name of the subfield. You can change this to a more user-friendly caption.
- Description - When someone is using this template to add or edit resource records, any text you add here is shown to the user as a hint or example of what the subfield should contain.
- Width - You can change the relative width of the subfield as it appears on the editing form. The choices are:
- Small - 1/4 of the width of the row.
- Medium - 1/3 of the width of the row.
- Large - 1/2 of the width of the row.
- Extra Large - Uses the entire row.
- Uses 2 Lines - Uses the entire row and is tall enough to enter 2 lines of text.
- Uses 3 Lines - Uses the entire row and is tall enough to enter 3 lines of text.
- Uses 4 Lines - Uses the entire row and is tall enough to enter 4 lines of text.
Cloning Subfields
Click the Clone button on the subfield editing form to add another exact copy of this subfield. This is handy if you want the subfield to appear more than once in the MARC field.
Removing Subfields
Click the Remove button on the subfield editing form to remove the subfield.