


The Holdings Panel on the Resources View Page page lists your library's holdings (copies) for the selected resource. If your library has 5 copies of a title, they will be listed here. Each holding has a barcode, call number (usually the same for all), a Circulation Category (usually the same for all), the status (on loan, in library, etc.), as well as additional fields such as the acquisition date, the fund used to purchase it, and more.

Editing
Click the Edit button (looks like a pencil) on the Holdings Panel header to go into editing mode. Click Save to save any changes you have made or Cancel to cancel.
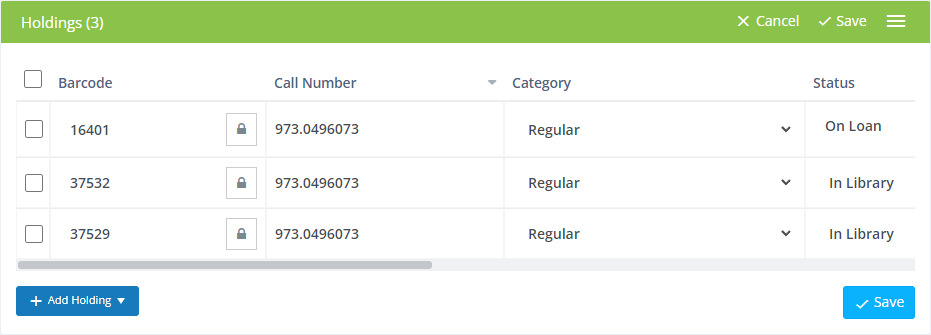
Click in any field and to make changes. Some fields, such as Category, have drop-down lists from which you can select. Date fields show a calendar you can use to select a date.
Deleting Holdings
Check the box next to a holding then click the Selected Holdings button and and select the Delete Holding to remove it. Note that you cannot remove a holding that has ever been checked out as it is associated with a circulation transaction and is needed for statistical reports. If you want to remove it from your library and not have it appear in searches, choose the Withdraw Holding button or change the status to Withdrawn.
A video tutorial showing how to move, withdraw, and delete resources is available on YouTube: Move, Delete, and Withdraw Resources
Move Holdings
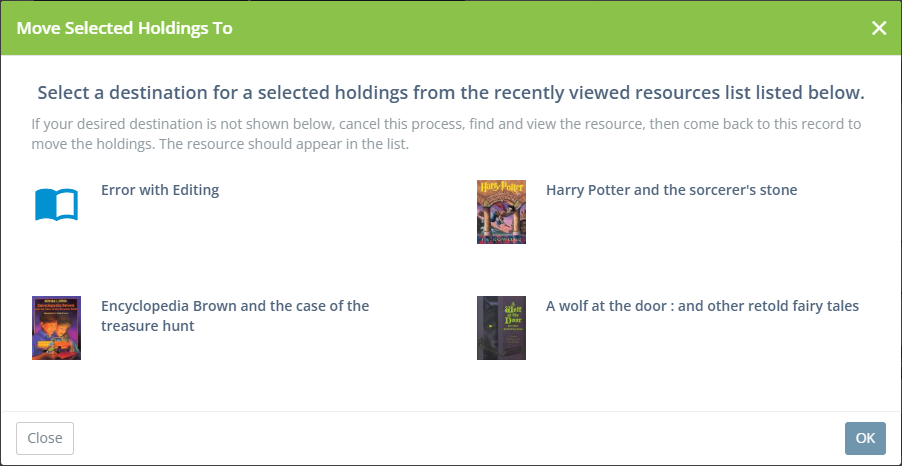
Check the box next to a holding then click the Selected Holdings button and select Move Holding. A pop up with several options of recently viewed resources will appear. Select a destination and click OK. If your desired destination is not shown, cancel this process, find and view the resource, then come back to this record to move the holdings. The resource should appear in the list. This process can be used when you have duplicate resource records and want to move holdings so they are all on the same record.
Adding New Holdings
If you want to add an additional holding, click the + Add Holding button while in Edit mode (see above).
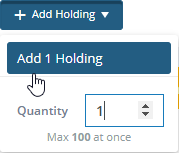
The Add Holding button gives you the option to select the number of holdings you want to add. Typically, you'll just click Add 1 Holding to add a single holding, but you can change the quantity using the input below the button to add up to 100 holdings at once.
This adds one or more rows where you can enter the specifics for the new holding(s).
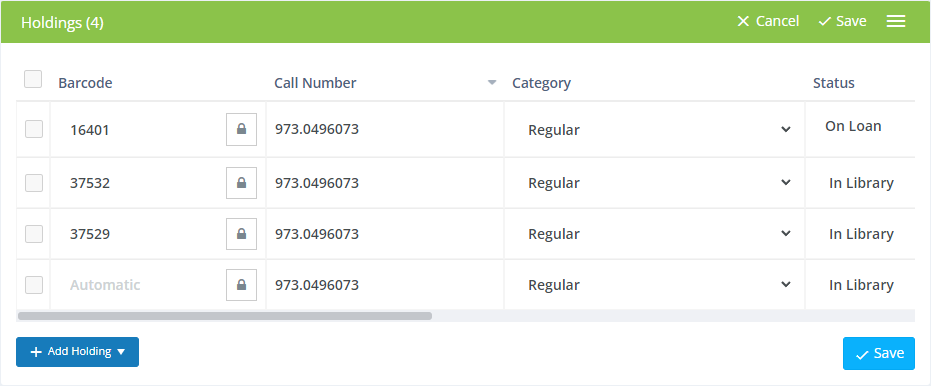
For convenience, much of the data for the new holding is carried forward from the last holding you added and the acquisition date is set to the current date. You might find that this is all you need, so you can just click Save without making any changes.
Note that the Barcode field shows "Automatic," meaning that Surpass Cloud will assign a barcode number for you automatically. If you want to assign a specific barcode number, click the lock button to un-lock the field and enter the barcode number.
Customization
You can change which columns are shown, the order in which they are shown, the widths of each, and how they are sorted.
Column Widths
To change the width of a column, drag the line between two column headings to the left or the right.
Sort Order
Click a column heading to sort the list by that column. Click it a second time to change the sort direction to or from ascending and descending. You can tell which column is sorted and the direction of the sort by the up- or down-pointing arrow on the right side of the column heading.
Column Layout
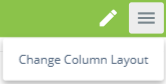
You can change which fields are shown in the result list and in what order using the Change Column Layout feature. To access this, click the menu button in the header and select Change Column Layout.
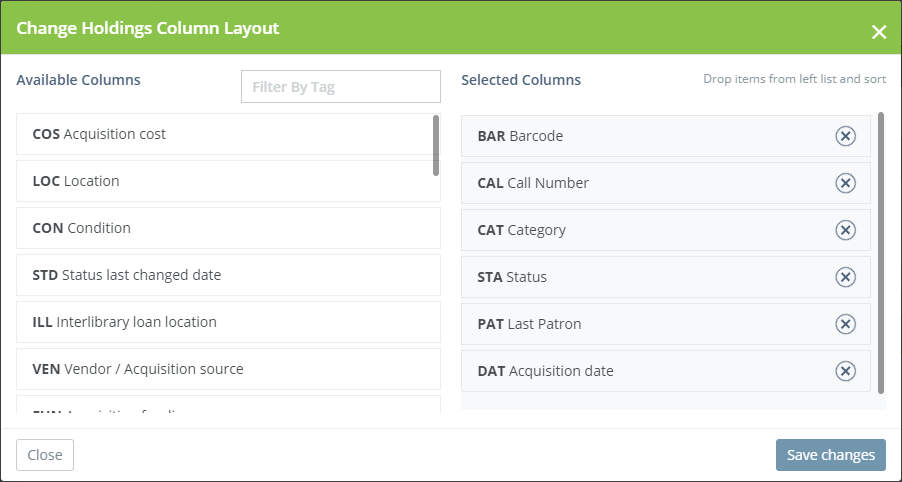
Drag and drop fields from the Available Columns list on the left to the Selected Columns list on the right. The Selected Columns list represents the columns that you'll see in the list. You can also rearrange the order by dragging and dropping. The field at the top of the list will be the one shown as the first (leftmost) column in the list.
Click the X button next to a field to remove it from the list.