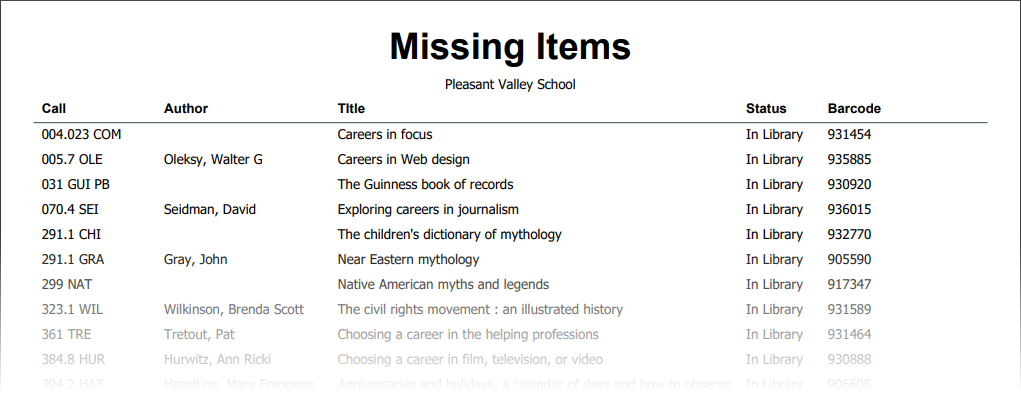
The Missing Items report is the final product of your Physical Inventory Process. It lists the items that were not scanned.
You'll likely visit this report at least twice during the process. The first time to see if you can hunt down any listed items that you might have missed when scanning (it happens!), and again when you are confident that you have found and scanned everything.

Options

-
All Call Numbers - Keep this box checked if you have been taking inventory of all resources, regardless of call number. If you have been taking a partial inventory based on a call number range, un-check the box and enter the call number range. Call number ranges are compared as "starts with" so "100 to 199" includes all call numbers that start with the digits "100" through all that start with "199" (including something like "199.999 ABC").
-
All Categories - Keep this box checked if you have been taking inventory of all resources, regardless of category. If you have been taking a partial inventory of only one or certain categories of resources, un-check the box and select the category or categories you want listed on the report.
If your library is part of a system that has multiple locations or branches, you will be resetting the physical inventory for the selected location only, regardless of whether you have selected "All Locations" at the top of the page. Physical inventory processes are always for the selected library -- never for all library locations combined.

Viewing, Printing, and Downloading
The report can be viewed on-screen, printed, or downloaded as a PDF. See Viewing and Printing Reports.
Declaring Lost
Once you are confident that all of the resources listed on the report are indeed missing from the library, you can take the additional step of declaring them lost, which removes them from availability for check out and excludes them from patron OPAC searches. If a lost resource reappears later, you can declare it found in Circulation : Transactions.

Click the Declare Lost button to declare all resources listed on the report to be lost. You'll be asked to confirm before the process begins. It usually takes just a few seconds.
Before you click Declare Lost, make sure that the list shown is the right list, that the call number range selected (if any) is for the call numbers for which you were taking inventory, that the categories selected (if any) are correct, and that you have selected the correct location. It's a good idea to print and/or download this report before continuing.
