- Print
- DarkLight
- PDF
For an overview of Circulation in Surpass Cloud, visit our YouTube channel: Circulation Overview
The Check Out, Hold, and Patron Status functions begin with asking you to select a patron.

You can select a patron for the transaction by:
- Scanning the barcode on a patron ID card or label
- Entering a patron number
- Entering a patron alternate ID
- Entering a patron name (first name, last name, or both)
- Entering a patron phone number
When searching by scanning a barcode or by entering a patron number, there can be only one match and you can continue to the next step of the transaction. If there are multiple patrons found, you will see a list of matching patrons.
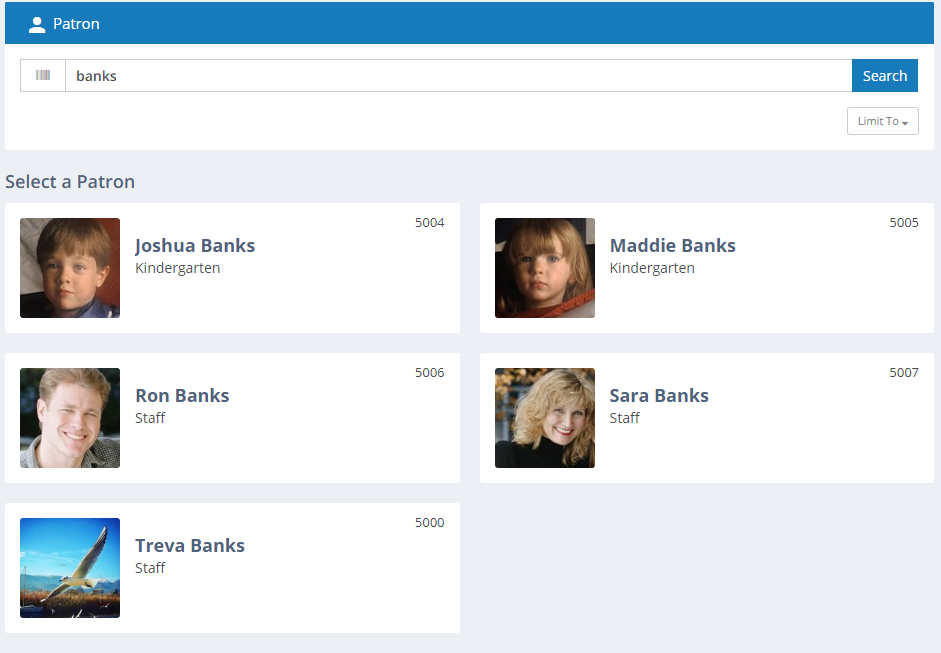
If your library is part of a system that has multiple locations or branches, searching for patrons is affected by the location selected at the top of the page and whether you have selected All Locations or Selected Location Only.

Limiting Patron Searches
When searching by patron name, it can be helpful to limit the results to only those patrons of a particular patron type and/or with a specific local address. This can be especially useful for schools where an entire class might visit the library at one time. You can set limits and search by the patron's first name.
Click the Limit To button to see the search filtering options. Click it again to hide the options and turn off search limiting.
Patron Type - Select the Patron Type from the drop-down list or select to include all patron types.
Local Address - Select the Local Address from the drop-down list or select to include all local addresses.
Patron Group - Select the Patron Group from the drop-down list or select to include all patron groups.
Ignore filters for patron number and alternate ID searches - If checked, the filter will not apply when searching by patron number or alternate ID. So, scanning a patron barcode, entering a patron number, or entering an alternate ID will still find the patron regardless of the filter settings.

For a video tutorial on Filtering by Patron Group in Circulation, visit our YouTube channel: Filter by Patron Group in Circulation
Switching Patrons
When you are finished working with one patron and are ready to move to another, click the Switch Patron button, which appears at the top of the patron information panel. You will then be returned to the point where you can search for the next patron.
You can use the Esc key as a shortcut to quickly switch to a new patron.
Recent Patrons
If you need to go back and work with a patron with whom you have recently worked during this session, click the Recent button to the left of the Search button. This will bring up a list of up to 12 recent patrons accessed in Circulation Transactions in descending order (most-recent first).
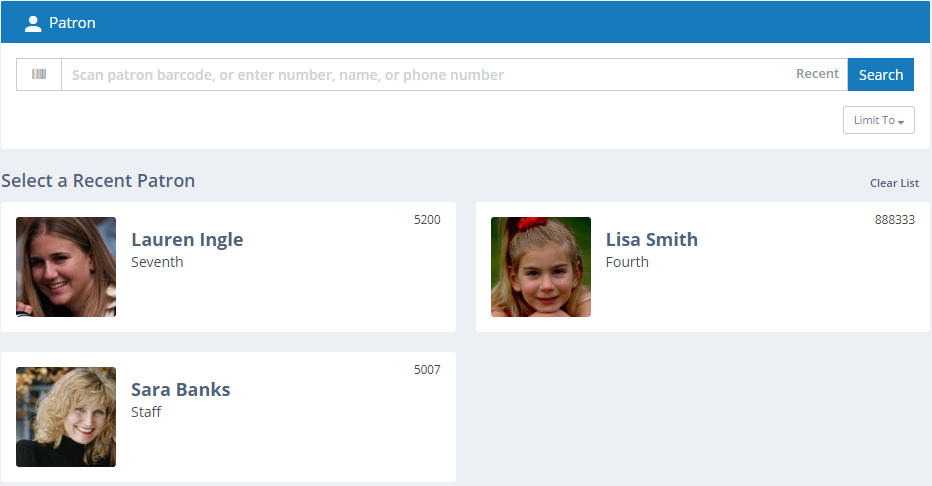
Click Clear List to clear the list of recent patrons.
Jumping to Full Patron Record
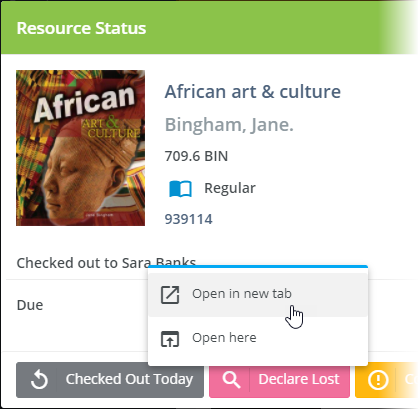
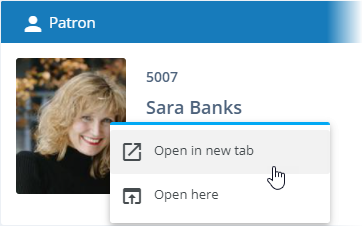
There may be times at the circulation desk when you need to view the full patron record to make changes such adding an email address, updating a patron's address, etc. Surpass Cloud makes this quick and easy. Simply click the patron's photo, number, or name to go to the patron's record on the Patrons View Page. Select whether to open the record in the current browser tab or to open it in a new tab, making it easy to switch back to Circulation without losing your place.
You can also jump to a patron record from other places, such as from the patron name shown on a Resource Status information box.
